


How to Compost at Home
Composting converts trash into living fertilizer. In this sense, it is truly redemptive since it withholds waste from the system while also fostering organic life.

“…And quietly the trees casting their crowns Into the pools.” — Ted Hughes, “September”
Few things are as satisfying as a hot pile of compost. On a cold morning, thrusting a shovel into the heap and watching steam burst from it in white plumes is a reassurance that redemption is still possible in this broken world. This heat is created largely by the digestive systems of trillions of microorganisms which, if everything is mixed right, can break down a pile of paper and kitchen scraps into sweet soil in only a few months.
And the soil really does smell sweet. Most people who have never composted before expect that the pile will be unsightly and smelly when, in fact, neither problem will exist if the right mix is maintained. And such management isn’t really hard at all. Good compost smells like an October afternoon in the woods and makes better fertilizer than anything available on the commercial market.
For all of these reasons and more, the Classical Roots composting program is expanding rapidly at school this year. Student volunteers have been visiting Logic and Grammar School classrooms to give them some basic education about how to compost. After a brief talk, the volunteers pass around samples of our finished compost, then gift the classes their very own composting bucket and paper shredder. Such classes are dubbed “Classical Roots Ambassadors” and tasked with spreading enthusiasm and know-how to other students. In time, every classroom in the school will be so equipped—all they have to do is ask.
And ask they have. There are all sorts of common questions. Can I compost oranges? (Best not to since worms like an alkaline environment). Won’t there be rats? (Not if you don’t put meat and bread in the pile). But the most common question of all is “How can I do this at home?” So, in the spirit of encouraging a good thing, I present a quick guide to home composting based on my own experience. Keep in mind that there are many possible methods that all achieve good results. But this is the laziest and most effective one I’ve come across and it has never let me down.
Step One: Set Up a Two-Stage Bin In a Shady Area of the Yard
Many home gardeners who want to try composting are tempted to buy one of the tumbling composters so widely available on Amazon. But there is a reason that you see these so often on the side of the road: they are hard to work with, easy to overfill, and frequently smelly, not to mention their almost aggressive hideousness. Far better to grab a few pallets from the side of the road, or even a roll of chicken wire and some stakes, and set up two open-faced bins in a shady spot.

Image Credit: joegardener.com
The advantages of such a system are many. First, it is not ugly. And aesthetics really do play a role here. If you like looking at something, you are more likely to visit it and occasional visits to the compost heap are essential. Second, you can easily control the size of the system. If you have lots of space you can always expand—and you will be shocked how much of what you normally throw away can go into the compost. Third, the use of pallets or chicken wire allows the piles to breathe—an essential element in the process. Finally, open bins situated in the shade create the ideal location for the worms, brandlings, and microorganisms that do the actual work of breaking down the materials. By contrast, the black plastic of most tumbling systems, especially when they’re placed in the sun, fries any worms to death and melts the compost into a smelly slop.
Step 2: Create a Compost Drawer or Bin in Your Freezer
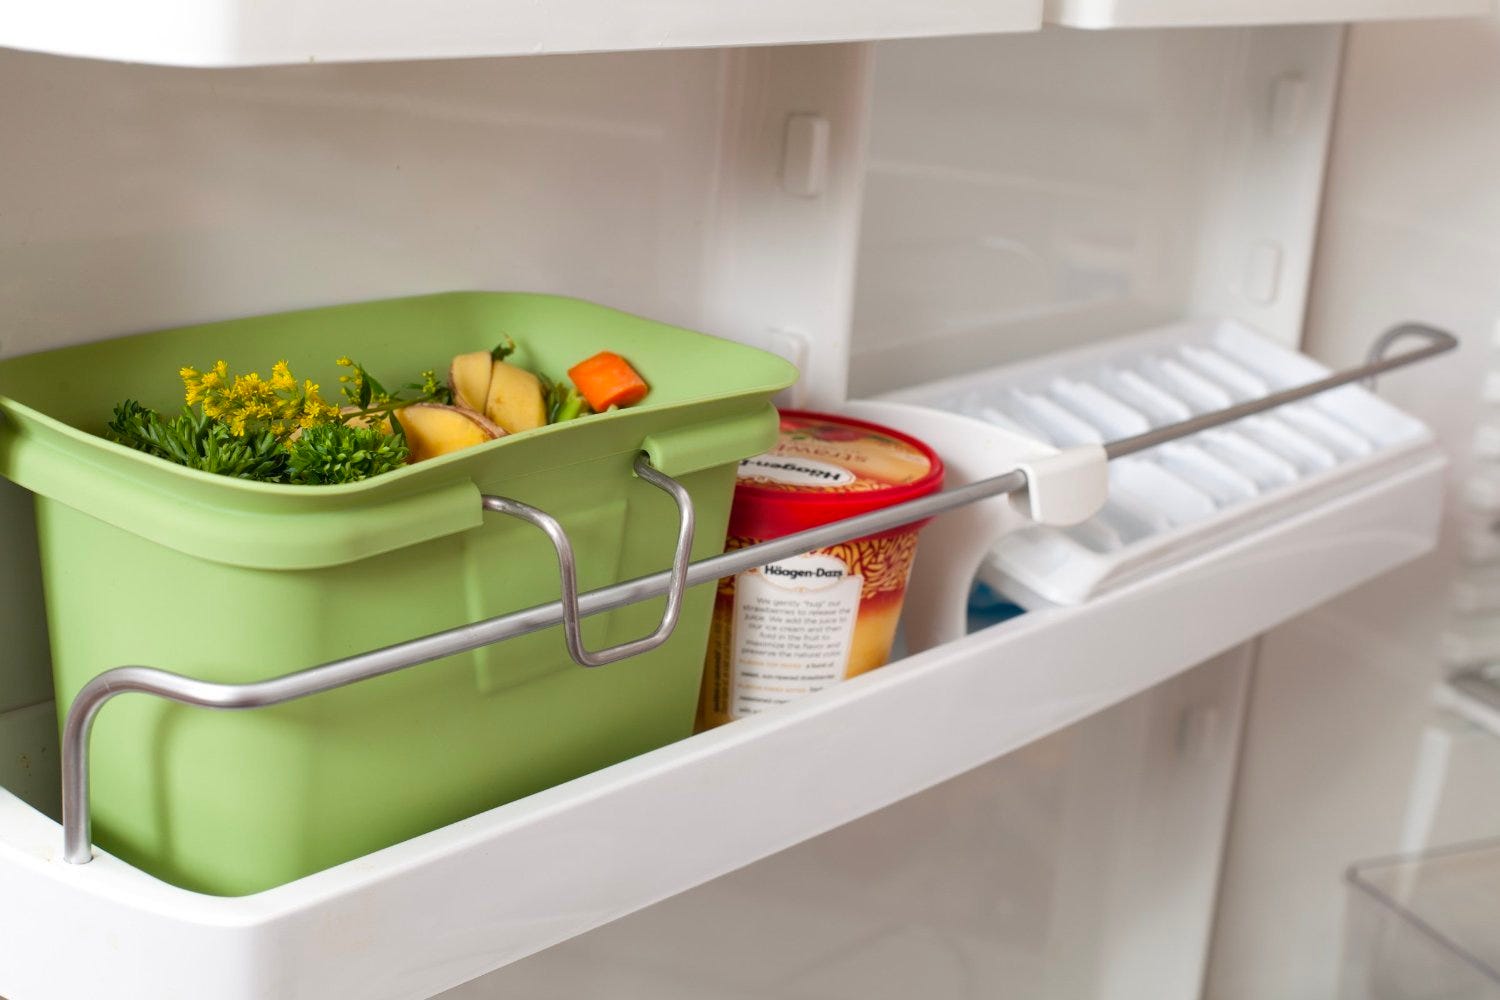
Photo Credit: thekitchn.com
We throw things away because we don’t want them. And one of the reasons we don’t want kitchen scraps hanging around is that, being rich in carbon, they rapidly begin to smell as they break down. Thus, many home gardeners quickly give up the practice of composting because the little pail they stash under the sink to hold compostables tends to get forgotten, leading to a fermented stink permeating the kitchen that no one is going to enjoy.
My own solution to the quandary of an odor-free way-station for compostables came from a brilliant friend who, as we were chatting once in his kitchen, opened the freezer and tossed his apple core into the bottom drawer. To me, this tactic represents the ideal solution: not only does it prevent bad smells, but the freezing process also helps break down organic matter so it can be more rapidly decomposed once it makes it to the pile.
Step 3: Get the Right Mix
Innumerable online guides to composting exist, each claiming to be definitive and many providing their own “recipe” for compost as if making good organic mulch were as complex as cooking a soufflé. In fact, the whole thing is not all that difficult and, as with most things, it is best to start simple. I’d recommend operating on two basic principles. First, apart from your grass clippings, only compost uncooked green things, adding no fat, meat, oil, dairy, or baked goods.
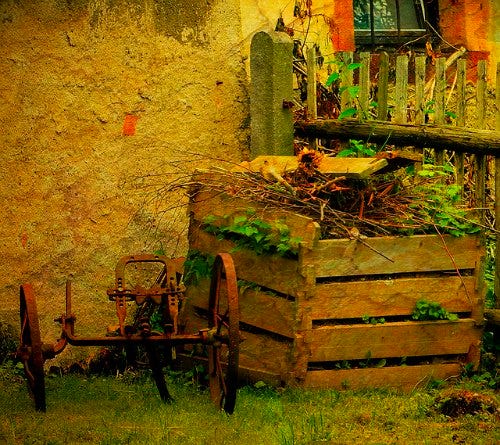
Photo Credit: gardenmyths.com
I suggest this strategy not because these things can’t be broken down but because fatty or cooked food items are likely to attract vermin if your compost pile isn’t expertly managed. And we want to leave plenty of margin for error at the beginning.
Second, add an equal amount of nitrogen-rich “brown” materials to your pile along with the greens. Such materials include dry leaves, unglossed black-and-white paper, cardboard, or dried-out plants from your garden. A 50/50 mix of brown and green will provide plenty of food for the organisms you need while also preventing the formation of the smelly goop that occurs when only green, carbon-rich materials are composted.
Step 4: Turn and Repeat
If you can, start out your pile by building up as much heft as possible. I myself added a whole heap of grass clippings, ragged tomato plants, and dead leaves one weekend in September. Always make sure things are chopped up as small as you can get them when you add them in—larger chunks are harder to break down. I use a spade or even my lawnmower for this.
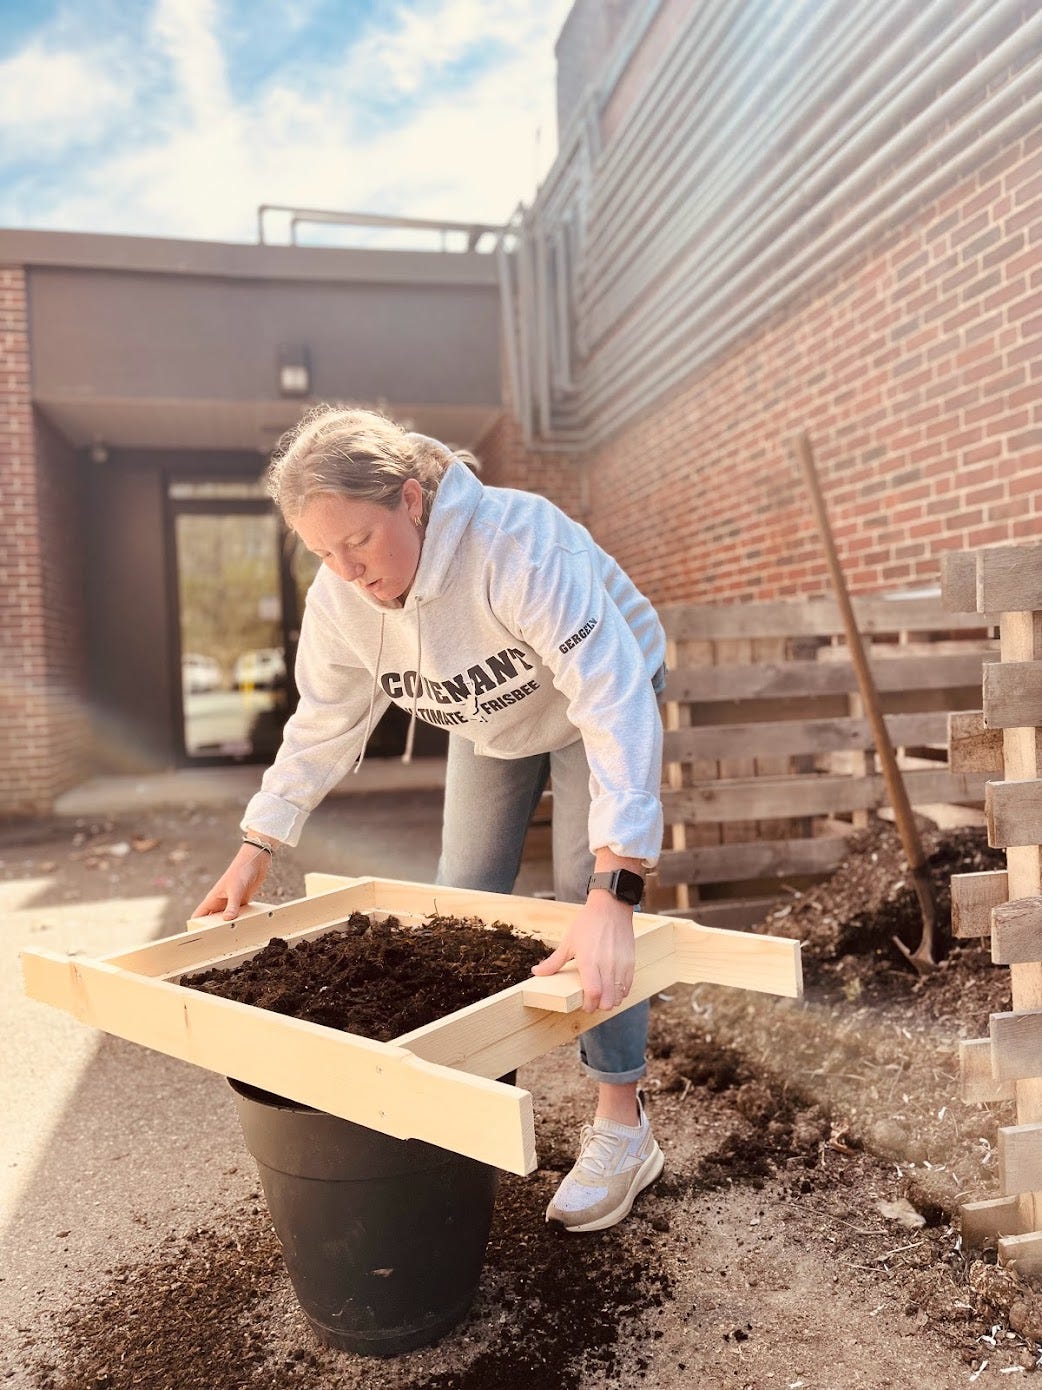
Whenever your freezer bin fills up, take it out to the heap and mix everything up with a pitchfork. You don’t want the pile layered like lasagna but mixed up like a salad. In dry weather, spray the whole thing down occasionally with a garden hose. Remember, you want to create a worm-friendly environment. Keep turning the pile every time you add something new. After a few weeks, the organisms will be hard at work and you should be able to feel the heat radiating from it when you jab a hole in the pile with your fork. Once the heap has diminished somewhat, fork to “turn” most of it over into your second bin and wait for it to break down completely into sweet-smelling soil. Sift this and use it as mulch in your garden or cut it with rice hulls (never peat) to make organic potting soil. Start piling the new stuff onto the little bit of compost you left in the first bin, and repeat as often as need be.
Composting converts trash into living fertilizer. In this sense, it is truly redemptive since it withholds waste from the system while also fostering organic life. Creating compost at home has all sorts of benefits. There are the tangible ones of course: the more of it you put on your garden, the healthier your garden will become. But there are less tangible benefits as well, not the least an almost daily reminder that we occupy a privileged place in a linked system of living things. Our choices within that system matter and, if we make the right ones, we can experience abundance both without and within.